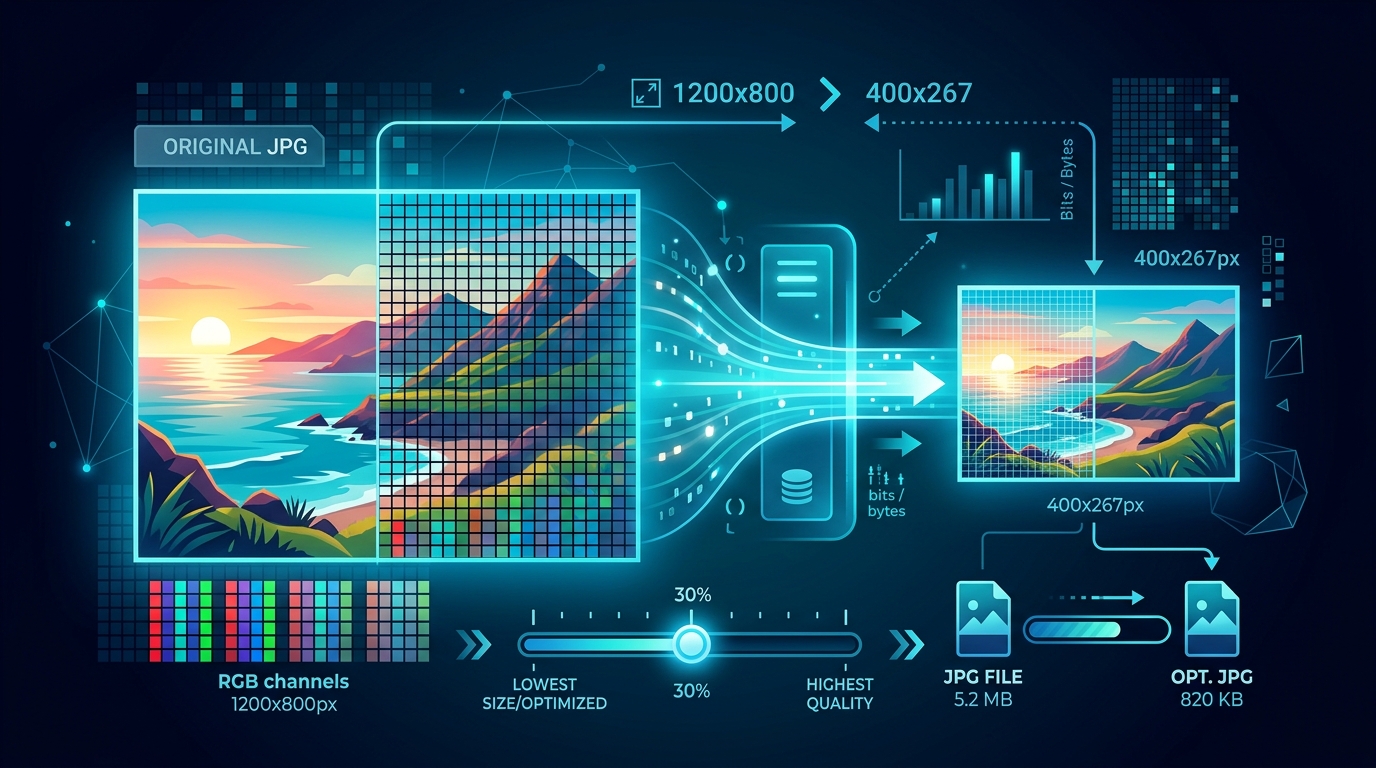
JPG (also written as JPEG) is the world's most popular image format. Every smartphone camera, digital camera, and screenshot tool produces JPG files. But raw camera photos can be 5–20 MB each — too large for web use, email attachments, and many upload portals.
This guide explains exactly how to reduce JPG file size using quality adjustment, resizing, metadata removal, and modern compression techniques. Whether you need to optimize product photos for an e-commerce site, shrink email attachments, or compress images for social media, this article covers every method.
Most JPG files can be reduced by 60–80% without visible quality loss by lowering the quality setting to 75–85% and resizing to the intended display dimensions. Stripping EXIF metadata saves an additional 10–200 KB per image.
This guide is part of our complete guide to file size reduction covering all major file types.
What Is JPEG Compression?
JPEG (Joint Photographic Experts Group) is a lossy compression standard designed for photographic images. Unlike PNG (lossless), JPEG achieves much smaller file sizes by permanently removing image data that is least perceptible to the human eye.
The key trade-off in JPEG compression is simple: lower quality = smaller file, higher quality = larger file. The art is finding the sweet spot where the file is small enough for your needs without visible degradation.
Why Are JPG Files So Large?
- High pixel dimensions — Modern cameras produce images at 4000×3000 pixels or higher. Each pixel stores 3 bytes of color data (RGB), so the raw data for a 12 MP image is ~36 MB before any compression.
- High quality setting — Cameras default to quality 90–100 to preserve maximum detail. The difference between quality 95 and quality 80 can be a 3–5× file size difference with minimal visible change.
- EXIF metadata — Every photo carries metadata: camera model, settings (ISO, aperture, shutter speed), GPS coordinates, timestamps, and an embedded thumbnail. This can add 10–200 KB per image.
- Color profile — Embedded ICC color profiles (sRGB, Adobe RGB, ProPhoto RGB) can add 1–50 KB per image.
- Progressive vs. baseline encoding — Baseline JPEGs are slightly larger on average but decode faster. Progressive JPEGs appear to load in stages and are often slightly smaller.
How JPEG Compression Works (Simplified)
Understanding the compression pipeline helps you make better decisions about quality settings. Here's what happens inside the encoder:
The quantization step (Step 4) is where the "quality" setting has its effect. Lower quality means more aggressive quantization, which removes more high-frequency detail (fine textures, subtle gradients) but produces a smaller file.
Methods to Reduce JPG File Size
Method 1: Reduce Quality Setting
The most effective single method. Reducing JPEG quality from 100 to 80 typically cuts file size by 60–75% with minimal visible difference. Most web images use quality 75–85.
| Quality | File Size | Size vs Q100 | Visual Impact | Use Case |
|---|---|---|---|---|
| 100 | ~10 MB | 100% | Reference (max quality) | Archival only |
| 95 | ~5 MB | 50% | Imperceptible difference | Professional photography |
| 85 | ~2.5 MB | 25% | Minimal, need zooming to see | High-quality web |
| 75 | ~1.5 MB | 15% | Slight softening on zoom | General web, email |
| 60 | ~800 KB | 8% | Noticeable on close inspection | Social media, thumbnails |
| 40 | ~400 KB | 4% | Visible artifacts | Previews, low bandwidth |
| 20 | ~200 KB | 2% | Clearly degraded | Placeholder images only |
Method 2: Resize Dimensions
A 4000×3000 pixel image displayed at 800×600 pixels on a webpage wastes 96% of its pixels. Resize images to their actual display dimensions (or 2× for Retina/HiDPI screens).
| Use Case | Recommended Width | Approx. Size (Q80) |
|---|---|---|
| Hero/banner image | 1600–2000px | 200–500 KB |
| Blog content image | 800–1200px | 80–200 KB |
| Thumbnail | 300–400px | 15–40 KB |
| Social media post | 1080–1200px | 100–250 KB |
| Email inline image | 600–800px | 50–150 KB |
| Product photo (e-commerce) | 1000–1500px | 80–200 KB |
Method 3: Strip EXIF Metadata
Remove camera settings, GPS coordinates, timestamps, and embedded thumbnails. This saves 10–200 KB per image and also protects privacy (GPS data can reveal where a photo was taken).
Method 4: Use Progressive Encoding
Progressive JPEGs render in multiple passes (blurry → sharp) rather than top-to-bottom. They're often 2–5% smaller than baseline JPEGs and provide a better perceived loading experience on slow connections.
Method 5: Optimize with MozJPEG or jpegoptim
Advanced JPEG encoders like MozJPEG produce files 5–15% smaller than standard encoders at the same quality level. jpegoptim can losslessly re-optimize existing JPEGs by using better Huffman tables without any quality loss.
Quality Settings Guide
The "right" quality depends on your use case. Here's a practical decision framework:
- Archival / Professional editing — Keep at quality 95–100. Save as original format (TIFF/RAW preferred).
- Print (magazines, brochures) — Quality 85–95, 300 DPI at print size.
- Web (blog posts, articles) — Quality 75–85, resize to display width.
- Email attachments — Quality 70–80, resize to 1000px max width.
- Social media — Quality 75–80, resize per platform specs (Instagram: 1080px, Twitter: 1200px).
- Thumbnails / previews — Quality 60–70, resize to 300–400px.
Optimizing JPGs for Web Performance
Image optimization is critical for website performance. Google uses Core Web Vitals (including Largest Contentful Paint) as ranking signals. Oversized images directly harm SEO.
Web Image Optimization Checklist
- Resize to display size — Serve 2× the CSS display size for Retina screens (e.g., 1600px wide for an 800px container).
- Set quality to 75–82 — This range provides the best balance of quality and file size for web images.
- Use responsive images — Implement
srcsetto serve different sizes at different viewport widths. - Lazy load below-the-fold images — Use
loading="lazy"to defer loading of images not immediately visible. - Strip all metadata — Remove EXIF data to save bytes and protect privacy.
- Consider WebP/AVIF — Modern formats offer 25–50% smaller files. Serve with
<picture>fallback. - Use a CDN with image optimization — Services like Cloudflare, Imgix, and Cloudinary auto-optimize images on delivery.
JPG Compression Tools
| Tool | Type | Lossy/Lossless | Best For |
|---|---|---|---|
| Squoosh (squoosh.app) | Browser | Both | Visual comparison, single images |
| TinyPNG/TinyJPG | Online | Lossy | Quick web optimization |
| ImageOptim (macOS) | Desktop | Both | Batch optimization for Mac users |
| jpegoptim (CLI) | Command line | Both | Lossless re-optimization |
| MozJPEG | Library/CLI | Lossy | Maximum compression quality ratio |
| Photoshop "Save for Web" | Desktop | Both | Professional workflow with preview |
| Sharp (Node.js) | Library | Both | Automated pipelines, build tools |
Modern Alternatives to JPEG
While JPEG remains the most compatible format, newer formats offer better compression:
| Format | Type | Size vs JPEG | Browser Support | Best For |
|---|---|---|---|---|
| JPEG | Lossy | Reference | ✅ Universal | Photos, universal compatibility |
| WebP | Both | 25–35% smaller | ✅ All modern browsers | Web images (recommended) |
| AVIF | Both | 40–50% smaller | ⚠️ Chrome, Firefox, Safari 16+ | Best compression, growing support |
| JPEG XL | Both | 35–45% smaller | ❌ Limited (Safari only) | Future standard, excellent quality |
| PNG | Lossless | 3–10× larger | ✅ Universal | Graphics with transparency |
Recommendation: Use WebP as your primary web format with JPEG fallback. Consider AVIF for progressive enhancement where browser support is sufficient.
If your JPGs are embedded inside PDF documents, compressing the PDF itself can optimize them automatically. Try our PDF File Size Reducer for PDF documents that contain large images, or read our PDF compression guide for advanced techniques.
Frequently Asked Questions
What quality should I use for JPG web images?
Quality 75–85 is the sweet spot for most web images. At quality 80, a typical photo is 70–80% smaller than quality 100 with minimal visible difference. Resize to the display width (×2 for Retina) before adjusting quality.
Can I compress a JPG without losing quality?
Partially yes. You can losslessly re-optimize a JPG using tools like jpegoptim or jpegtran, which rebuild Huffman tables without re-encoding. This typically saves 2–10%. Stripping EXIF metadata is also lossless and saves 10–200 KB.
What's the difference between JPG and JPEG?
Nothing — they're the same format. "JPG" is a 3-letter extension from early Windows (which limited extensions to 3 characters). "JPEG" is the full name. Both use the same compression algorithm and are interchangeable.
Should I use WebP instead of JPG?
For web publishing, yes. WebP produces 25–35% smaller files than JPEG at equivalent quality and is supported by all modern browsers. Use the <picture> element to serve WebP with JPEG fallback for maximum compatibility.
How do I remove EXIF data from JPG files?
Use tools like ExifTool (CLI), ImageOptim (macOS), or the "Save for Web" option in Photoshop. Online tools like Squoosh also strip metadata automatically. On Windows, right-click the file → Properties → Details → "Remove Properties and Personal Information."
Related Guides
How to Reduce File Size: Methods for Every File Type
A complete guide to shrinking PDF, JPG, Excel, and ZIP files. Learn lossy vs lossless compression, metadata removal, and format-specific optimization techniques.
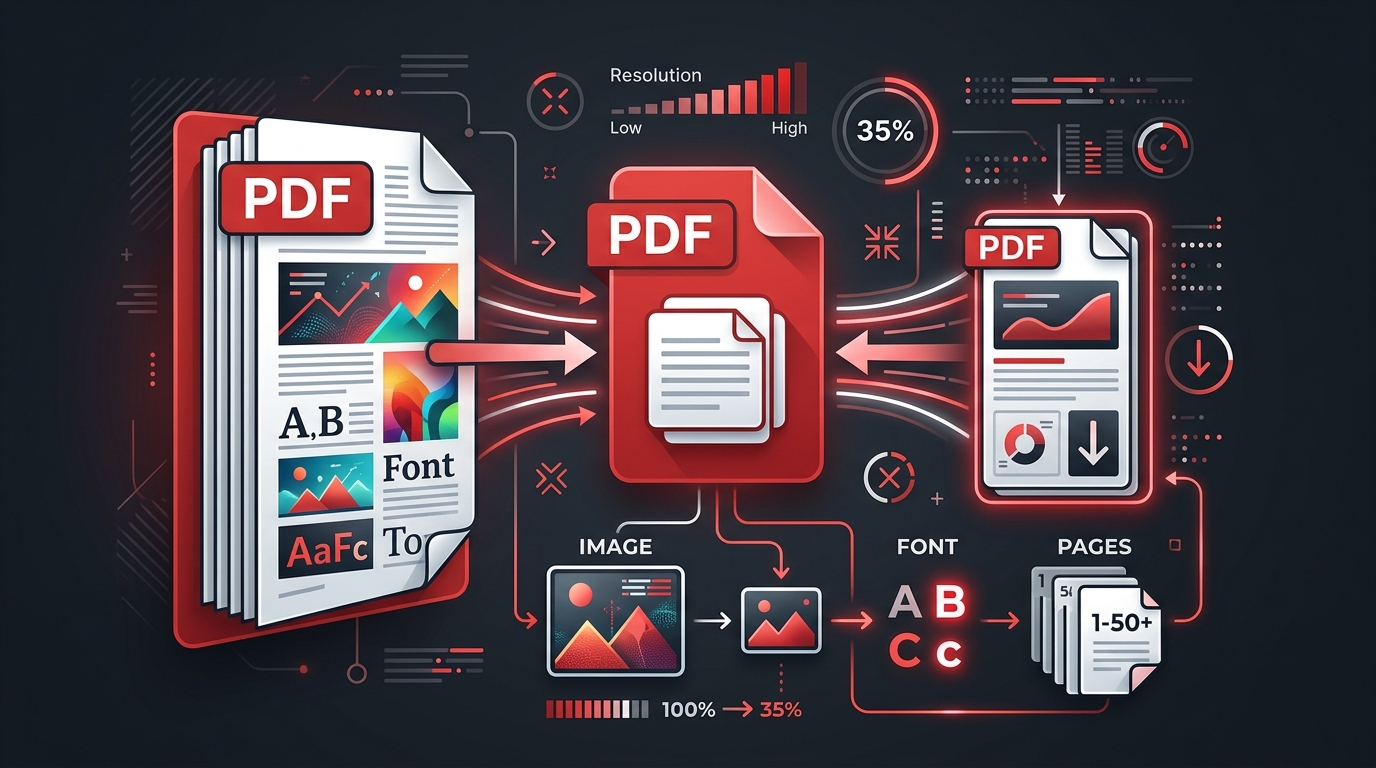
How to Reduce PDF File Size (Without Losing Quality)
Compress PDFs without visible quality loss. Master image resolution, font optimization, metadata cleanup, and find the right compression level for your documents.
How to Reduce Excel File Size
Shrink bloated Excel workbooks fast. Learn to clear pivot caches, compress images, trim unused ranges, switch to .xlsb, and optimize formulas for smaller files.